
It’s easy to record a video using a smartphone or tablet. Alternatively, you could use a laptop or computer, with an inbuilt camera or webcam.
Framing and composition
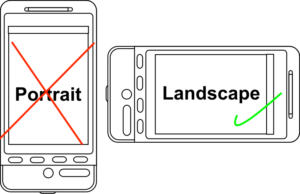
Always, always shoot in landscape. It’s the universally accepted format for film, video and TV as it mirrors our own view of the world.
Camera angles such as from below looking up can give an unnatural or distorted view of your face. Making the video will be less enjoyable if you don’t like the look of the final result. Raising your camera to eye level, or slightly above, (no higher than your hairline) will produce the best results. Sitting close to the camera is off-putting for viewers; position the shot so that your shoulders and entire face are captured, with some space around you.
Rule of Thirds
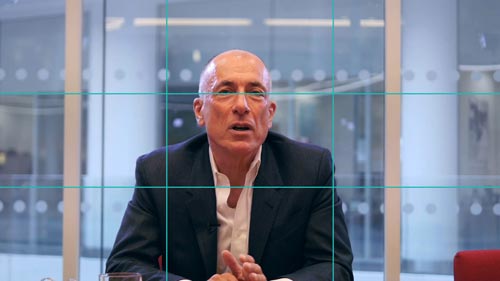
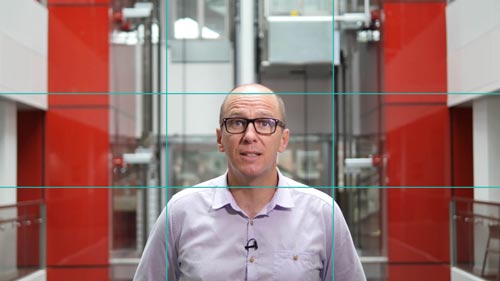

The interviewee’s eyes should be roughly level with the top horizontal on a rule of thirds grid. You can also break the rule of thirds by placing the subject’s face directly in the middle square of this grid. All interviewees must, however, be facing straight on and looking directly into the camera. Frame people within the range of a mid-shot to medium close-up.
Stabilise your recording device

If you are using a smartphone or tablet, you may need a tripod or case to stabilise your camera. There are plenty of cheap options available. This will ensure that you get the sharpest image possible, remain in focus, and look professional. Alternatively, you could also use a bag of rice, beanbag, or a pile of books!
Lighting
All cameras capture better-looking video when there is a good light source, and webcams are no exception. When selecting a place to record, avoid locations with low light or too much backlighting (windows in the background are often a challenge for webcams). Poor lighting may leave your video looking washed out, or worse, may leave you looking like a shadowy figure.

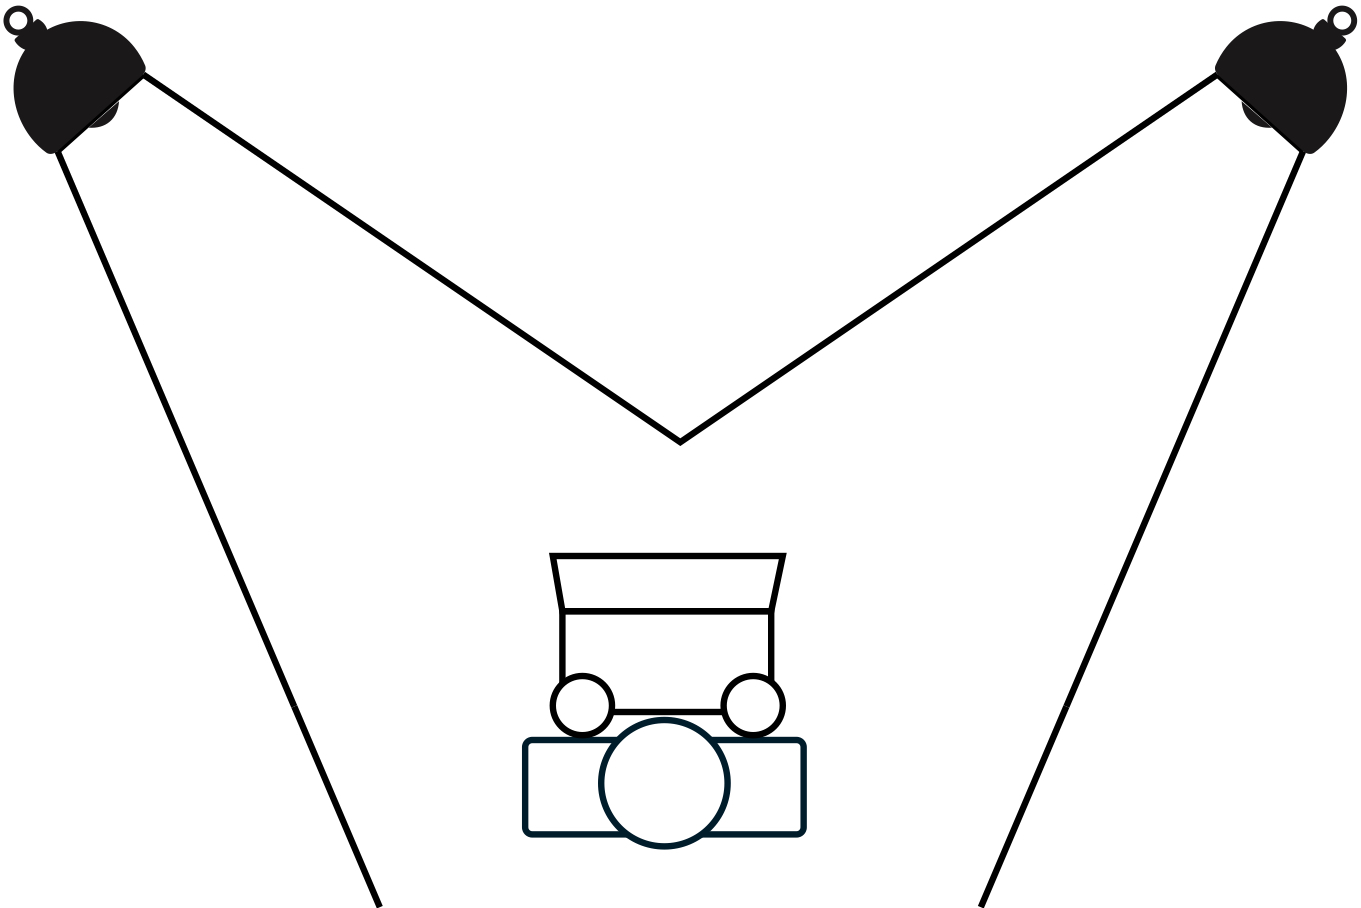
Ideally, you want to light yourself from the front with soft, indirect light, and minimise other lighting in the room, particularly from windows or light sources behind you. Place a light with a lampshade in front of you and behind your webcam. Bounce the light off the wall if it is a directional light.
Sound
Sound is incredibly important. If the audio is impaired then viewers will not understand you, however clear your video is.
Conduct a test recording using your built in microphone to see if it is good enough. An alternative may be to use the microphone on your headphones.
Control the noise; close the doors and turn off any sources of low humming noises, such as fans, other PCs, etc.
We recommend including subtitles with all videos (the Video Portal will generate these for you).
Recording Format
Quality
To maximise the quality of your video file, check that whichever recording device you are using is HD quality (720 or 1080). This will also determine the size of your video file.

File Format
To maximise the accessibility of your video file (if sending onto someone else for editing), check that whichever recording device you are using will save your video as an AVI (most compatible, larger, great for storage), MP4 (best for the web) or MOV (Apple format, high quality, large). AVCHD or MPG are acceptable (low size, low quality) but may require converting before they can be edited. The codec should be H.264 or MPEG-4.
If you are working with others, try to agree on one file size and format to use, so when they are edited together, the quality will be consistent.
Which format is my video?
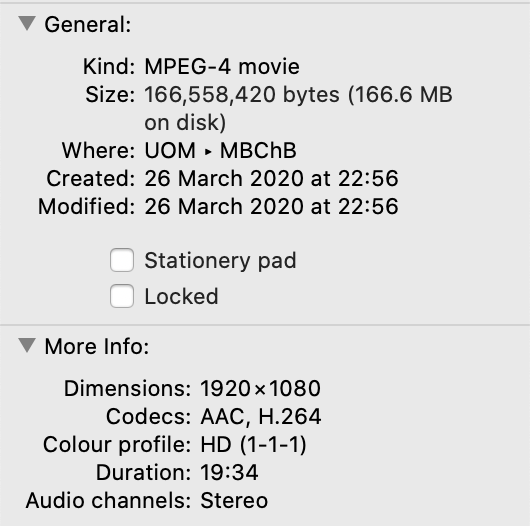
- On Mac, right-click the video file and click “Get Info”, then under “More Info” you should see both the video and audio codec.
- On Windows, right-click the file and click “Properties”. Under the “Details” tab you will see the file format and codecs used.
- On Linux based systems (such as Android phones and tablets and Chromebooks), right-click and select “Properties”. The file properties window shows you information like the file format and codec.
Sharing your Video
Video files are usually large so it’s ideal to use file sharing software, such as DropBox or Google Drive to share your video with others, rather than attaching it to an email.
Uploading to the Video Portal
Students can upload videos to the Video Portal and send the link to the video (depending on the visibility setting) or embed it into Blackboard (or another website) to share it with others. The Video Portal is free and accessible, so you don’t need to sign up for any other video hosting service, such as YouTube and can be assured that your video will be accessible to others (including subtitles).
Page by Rachel Heyes (with credit to Ewan Chamings)