
Adding images or icons
Consistently well-thought-out images or icons across a course can really help to make your content less overwhelming.
When starting with images or icons consider:
- Consistent size – create them in the size you need before uploading them into Blackboard; no more editing sizes as you go or twiddly changes while you build. Keep them large enough to see, but compact enough to not take over the page.
- Consistent colour – choose a colour scheme and stick with it (did you watch the video on colour from Visme?)
- Consistent alignment throughout.
- Choose photos OR icons; try not to switch between the two.
Once you have your icons ready, upload them as a set into the Blackboard content collection. This will make things easier to find each time.
Activity: Upload your icon set into Blackboard
You can complete the following activity using your own icon set or obtain a small example by logging into Blackboard and then clicking this link.
- Ensure your folder of icons is compressed into a zip file.
- In the Blackboard left-hand menu, choose “Files” and choose the top item in the list (the Blackboard ID for the course you are in).
- Upload > Upload zip package > locate the file and submit.
- Your files will be extracted into the “content collection” and will now be available for use.
Please note: Choosing to upload icons using other methods in the next activity is not advised.
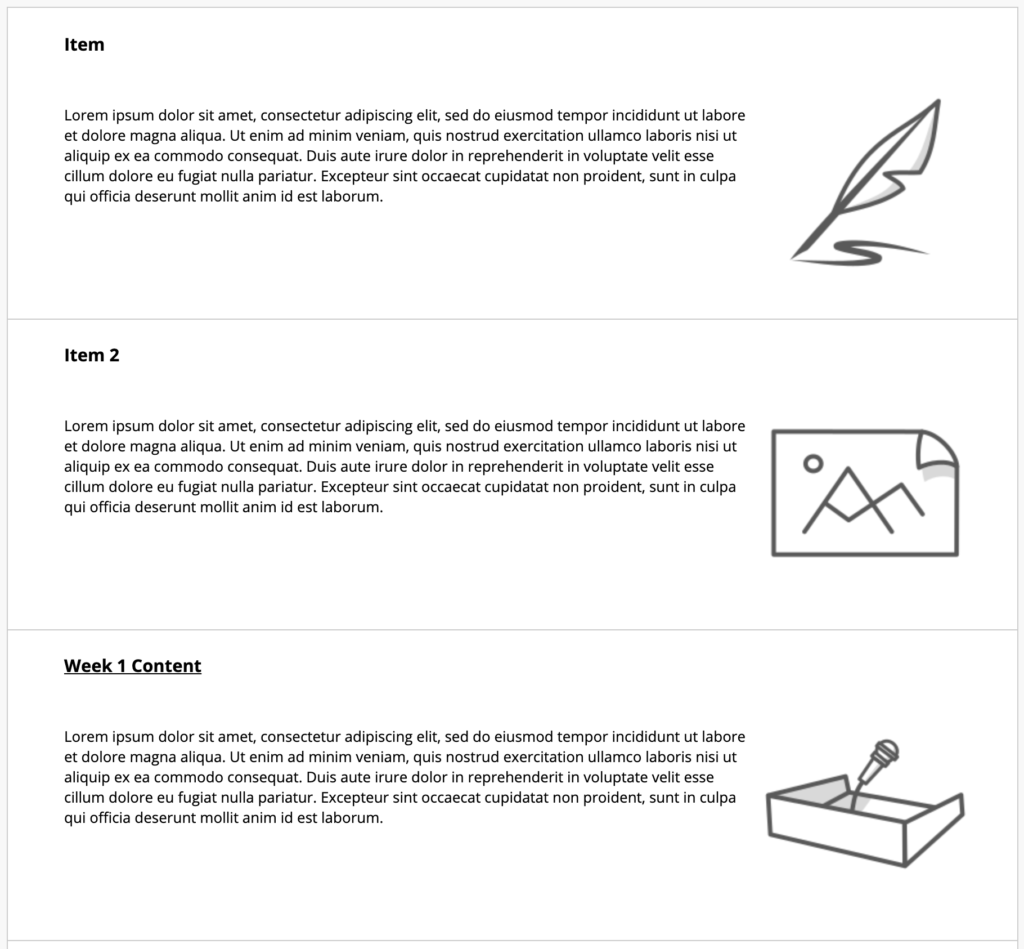
Activity: Add an icon to a content item or folder
- Return to where you are creating content and locate one of your existing items or folders that contains a textual description.
- Click the dropdown menu and choose “Edit”.
- Place the cursor at the front of any text within the “text” box and choose the Add Content option (the icon looks like a fine crosshair); a pop-up box will open.
- Choose “Insert from Content Collection” (note: this activity assumes you have uploaded your icons as a set in the previous activity) and locate the folder containing your icons. Enter it and choose the icon you want. Click Submit. The Content Editor will automatically recognise this is an image file.
- Once added, right-click on the image to bring up the image options. In the “alternative description” section, describe your image for DASS students and choose your image dimensions.
- Use the editor to choose image alignment. Recommendation for icons: Align Right.
- Insert.
- Submit.
Note: you may choose to pick icons or images from “Insert local files” but we do not recommend this for icon sets.
Activity: Edit the image you added (Advanced)
Only attempt this if you are comfortable with using HTML.
- Locate the item/folder you wish to change.
- Click the drop-down icon to “edit”.
- Select your image and click on the Source Code icon to open up the HTML window.
- Change a few things to see what your image looks like, e.g. <img src=”…” style=”padding: 3px; margin: 3px;”>
You should now be able to add images to any items or files. These skills are reflected across Blackboard, so practice how things look in discussions, tests, journals, etc.
Top Tip
Remember, you can save yourself significant work by assigning colours or icon sets up-front before you start editing in Blackboard.
Removing Automatic icons from Blackboard Content Pages
Once you are using your own icons/image sets to make your content look great, there is no need for you to use the Automatic Blackboard icon set. Switching this off is simple:
Activity: Switch off Blackboard’s Icons in a Content Area
- Locate the content page you are working on which contains items and folders with your personalised icons and images.
- Next to the title of the page (usually Course Content), you should see a drop-down icon. Click this and choose “Show Text Only”.
If you repeat the steps given earlier for your folders and items, you should find that your content is already looking better.

Success! You have completed the section: Making Your Course Look Good.