
Quick wins
Control the noise: close the doors, and turn off any sources of low humming noises such as fans, other PCs, etc.
Clean up your desk (and desktop if screen sharing)
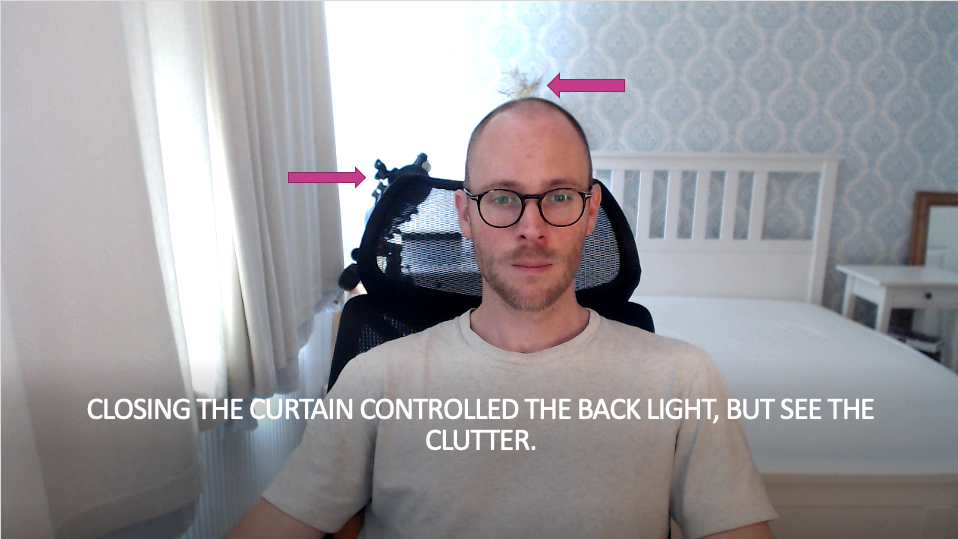
Check behind you; is the backdrop clear of clutter?
Use an ethernet cable connection for your computer if possible, even if it’s just used for Zoom, Blackboard Collaborate and uploading videos to the Video Portal
Turn Wi-Fi off to ensure the hard wired connection is used instead.
All cameras capture better-looking video when there is a good light source, and webcams are no exception. When selecting a place to record, avoid locations with low light or too much backlighting (windows in the background are often a challenge for webcams).
Poor lighting may leave your video looking washed out, or worse, may leave you looking like a shadowy figure:
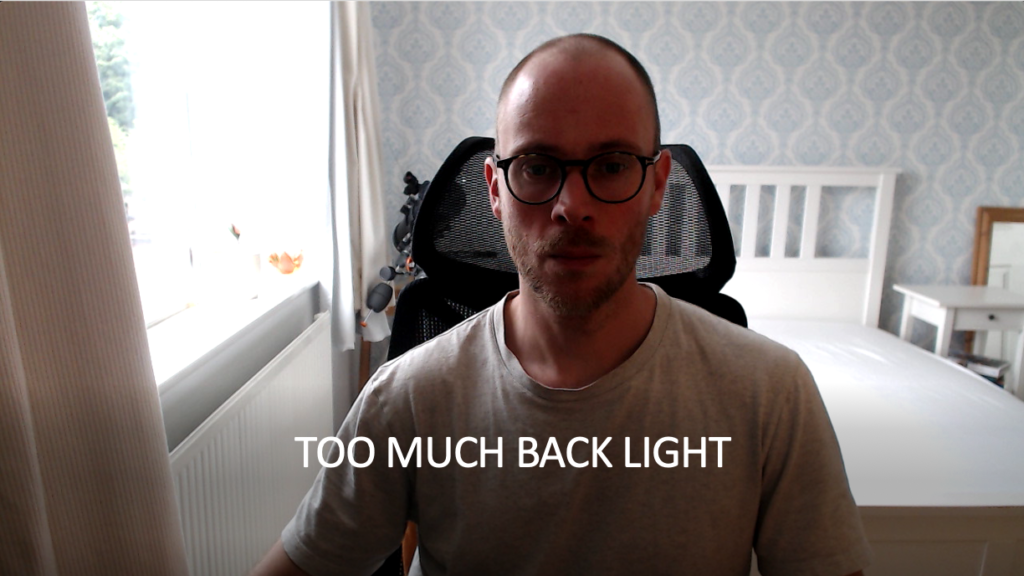
Control the back light
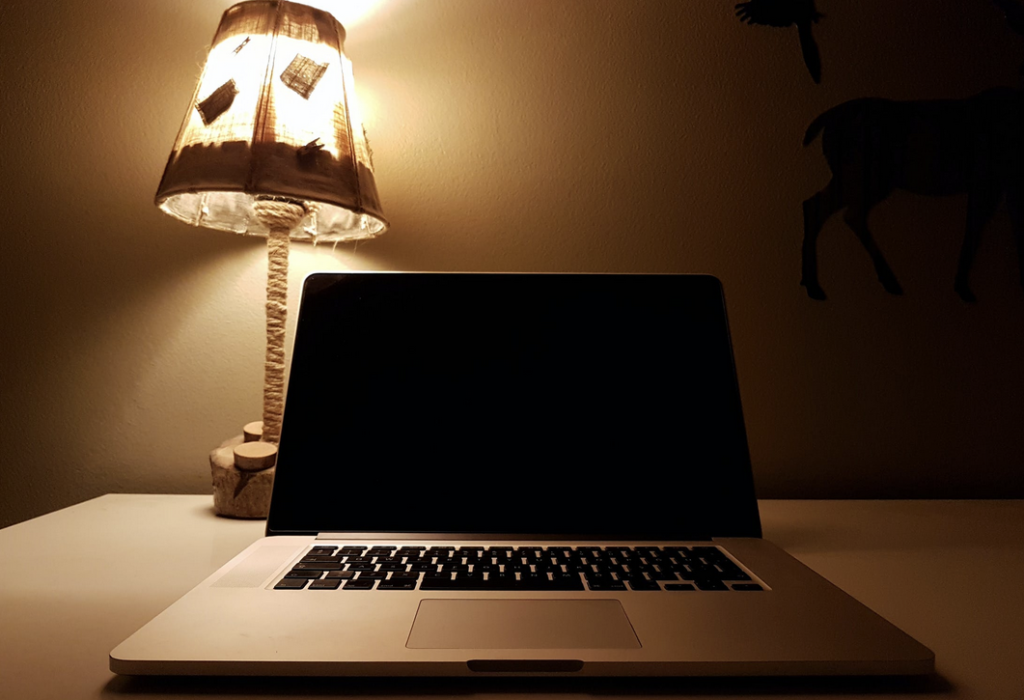
Use soft lighting from the front
Ideally, you want to light yourself from the front with soft, indirect light, and minimise other lighting in the room, particularly from windows or light sources behind you. Place a light with a lampshade in front of you and behind your webcam.
Bounce the light off the wall if it is a directional light.
Camera angles such as from below looking up can give an unnatural or distorted view of your face. Making video will be less enjoyable if you don’t like the look of the final result.
Raising your webcam to at, or slightly above, eye level (no higher than your hairline) will produce the best results.
Sitting close to the webcam is off-putting for viewers; position the shot so that your shoulders and entire face are captured with some space around you.
Sound is incredibly important. If the audio is impaired then viewers will not understand you, however clear your video is.
Conduct a test recording using your built in microphone to see if it is good enough, and look into a USB Condenser Microphone if it needs improvement.