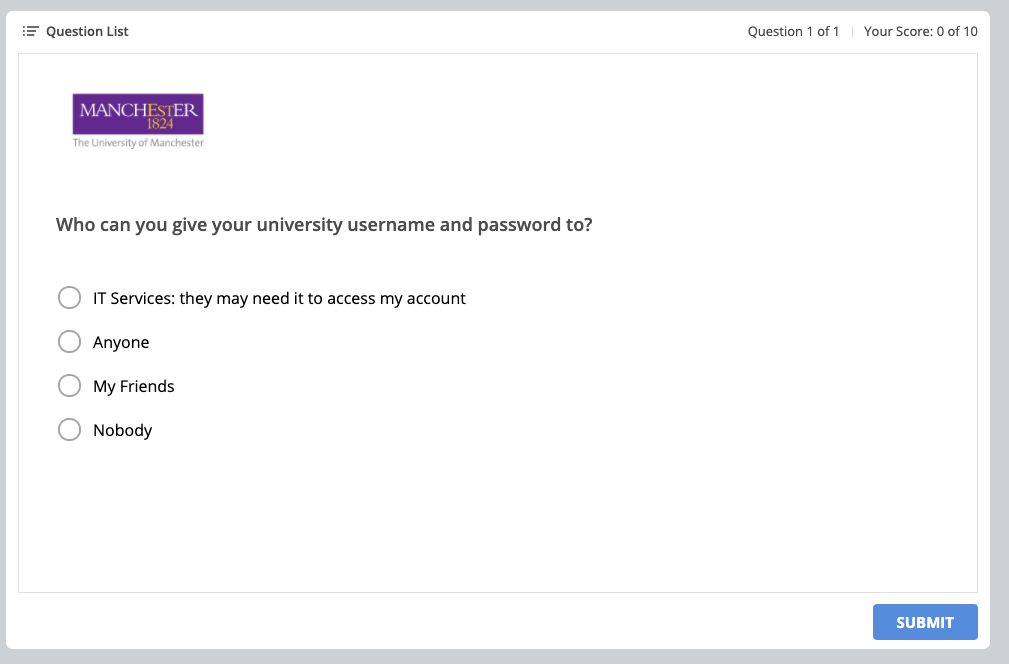
Narrated presentations are often used as a substitute for face-to-face or live online lectures. This is commonly done using PowerPoint or other similar presentation software. In order to bring in elements of face-to-face lectures and increase student engagement, online lecture designers are not only recording and adding audio to these but also creating interactive elements that give the user more interaction while learning. These include navigation, quizzes, click-to-show pop-ups and video recordings.
There are many different ways of designing a narrated presentation, but which one you should choose depends on a couple of factors:
- Who is the course designed for?
- What type of course is it? Distance learning, on-site full-time, etc.?
There are different reasons for wanting to add audio to interactive sessions. One such example is having international students, whose native language is not English. Listening to the lectures in English will help them improve their understanding of the language as well as their comprehension of the course content. Also, narration adds variety to the presentation and allows students to feel as if they were in an actual classroom rather than looking through a PowerPoint document. Last but not least, it provides a better learning environment for students who learn best by hearing information, not only for those who learn by seeing or writing.
Before the social distancing restrictions, academics would record their lectures in the eLearning team’s Podcast room, using Screenflow to capture both their lecture slides and their narrative. Lecturers were recorded either with a webcam or with a professional camera and a teleprompter. The video and audio were then edited by the eLearning team and added to an iSpring project. iSpring is a PowerPoint add-in that allows users to create learning courses that include quizzes, dialogue simulations, and other interactive features. In very basic terms, what this tool does is add a frame to the PowerPoint presentation and buttons that help users navigate through it or enable an interactive element.

In the image below, you can see a sample from an iSpring project created for the distance learning MSc Advanced Restorative Dentistry course. The sidebar on the right of the PowerPoint holds the video and the transcript of the lecture, which adds to the student experience by providing the information in multiple formats. The bar at the bottom allows students to control the content. Students are able to go through the lecture with the speed that best suits their learning and skip or repeat slides if necessary.

The video in this project is an example of a talking head – a recording of an academic, during which he or she gives an introduction to the course or delivers the whole lecture. You may not always want to use talking head videos throughout the lectures, as they can sometimes distract from the slide content. However, in the case of the MSc Advanced Restorative Dentistry course, the talking heads are kept throughout the whole lecture, as the course is a distance learning one and students don’t have that much interaction with the academics. Talking heads gives an “in person” feel. The video is recorded via a webcam while the lecturer is going through the slides. There is no written script provided in order to maintain the natural voice and intonation of the academic, but a transcript is included as described previously.
A different approach towards the talking heads and narrated slides can be seen in another distance learning course, MSc Biomedical Egyptology. Talking heads are only used at the beginning and the end of the lectures for a couple of reasons. Firstly, this prevents students from getting distracted during the lecture as mentioned earlier. Secondly, it takes the pressure off academics, who are not very comfortable with recording themselves on camera while giving a lecture.


To make things easier for both the academics and the person editing the lecture afterwards, a script of the lecture is written beforehand. A teleprompter is then used to avoid having the presenting academic looking away from the camera. Last but not least, the content style of the course allows for the lectures to be split up into smaller chunks (about 20 minutes long, no more than 20 slides). This is advantageous because students can fit them more easily into their schedules, academics don’t have to stress as much about organising and recording them, and the eLearning team take less time to edit them and assemble the whole learning package.
A third different approach towards the narrated lectures is that for the PGCert Clinical Genetics and Genetic Counselling course, conducted both online and through face-to-face teaching blocks in China. The sessions for this course do not include video, as the sessions were designed as an interactive lesson package rather than an online lecture. Throughout the package, there are interactive elements such as zooming in on images, test-yourself quizzes and click-to-show information pop-ups. There is also an interactive menu on the left-hand side in order for students to navigate through the resource if they wish to review a particular section.
Not all slides are narrated, but the ones that are have a headphones icon and a transcript icon. When the latter is clicked, the transcript of the audio pops up on the side to increase the accessibility of the lecture. This can be turned on or off depending on student preference.

iSpring projects can be exported and embedded in a learning environment like Blackboard or Canvas.
So far, the feedback for this type of interactive learning resource has been positive from both students and academics. They all find narrated lectures made in iSpring very interactive, accessible and easy to navigate.
If you are interested in learning more about recording narrated lectures, using talking heads and editing videos for your module, unit or whole programme, then please check out the Training page on our website.

