This guide covers:
- Page 1 Creating a lesson, setting the theme, previewing and saving to SoftChalk Cloud
- Page 2 Add special characters, images, tables and hyperlinks
- Page 3 Pages, navigation, headings and sidebars
- Page 4 Adding an Overview page, changing the layout and theme, creating a theme
- Page 5 Editing the lesson later
- Page 6 Distributing to students
Within this content, you will find links to the relevant learning material from SoftChalk’s eLearning video guides.
Creating a lesson and saving to SoftChalk Cloud
Creating a lesson and setting the theme
- Open the SoftChalk editor. If you have not already downloaded the software, please see the ‘Get Started with SoftChalk’ section.
- Go to Properties > Lesson Properties to set the colour (theme) and title.
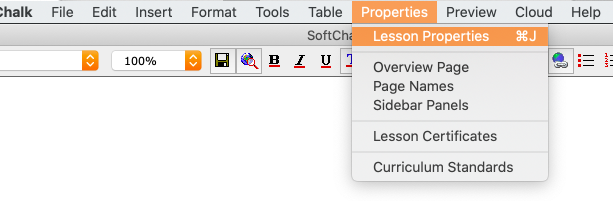
- For more information on setting themes, see Video 3a Understanding Themes.
- See this PDF, extracted from SoftChalk’s Create Guide, for guidance on how to copy content from Word and other sources into your lesson.
Previewing the lesson
- Go to Preview > View in Browser or click the preview button to see these settings applied. It is advised to preview regularly when creating your lesson so you know what the published version will look like. Some elements like activities, links and media will only display in the preview. Top tip: If you use Internet Explorer, we recommend you set Google Chrome or Firefox as your default browser for the previews.

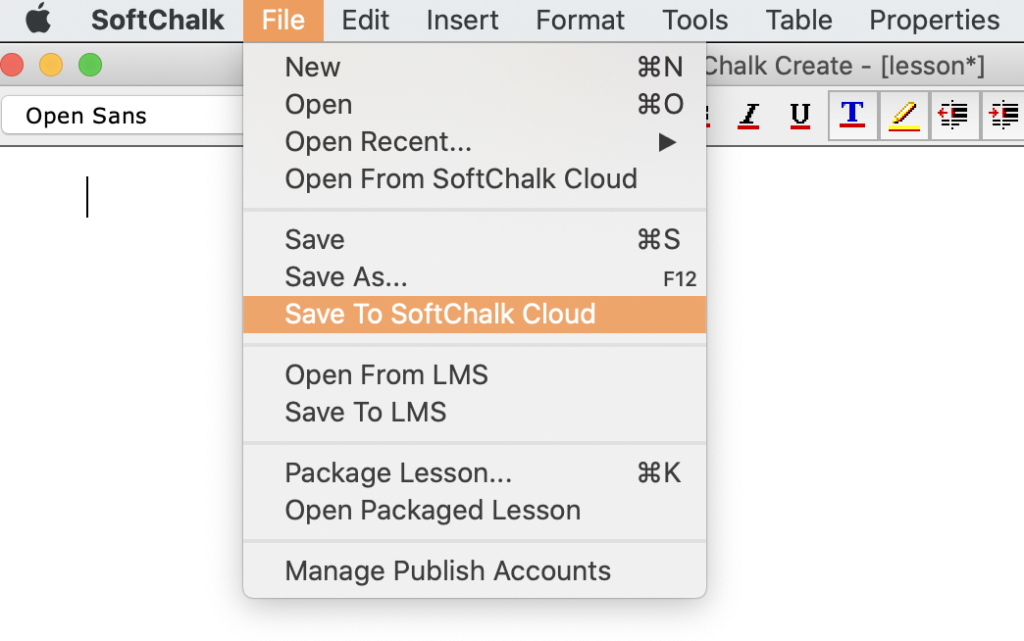
Saving the lesson to SoftChalk Cloud
- The save prompt before previewing only saves the lesson in a temporary file on your computer. To save permanently, you must save to SoftChalk Cloud
- Go to File > Save to Softchalk Cloud
- Give your lesson a name
- Click ‘Save’
- Your lesson has now been saved to SoftChalk Cloud. Log in to SoftChalk Cloud and go to My Content > Lessons to see it in your online lesson list.