

In recent days, you may have noticed a slight change to the Blackboard content editor. The WYSIWYG (What You See Is What You Get) editor has undergone a cosmetic change as part of recent upgrades. Although it functions mostly in the same way, there are some important changes to note, many of which improve the overall user experience. We’ve covered some of the most important ones for you below.
Editing HTML
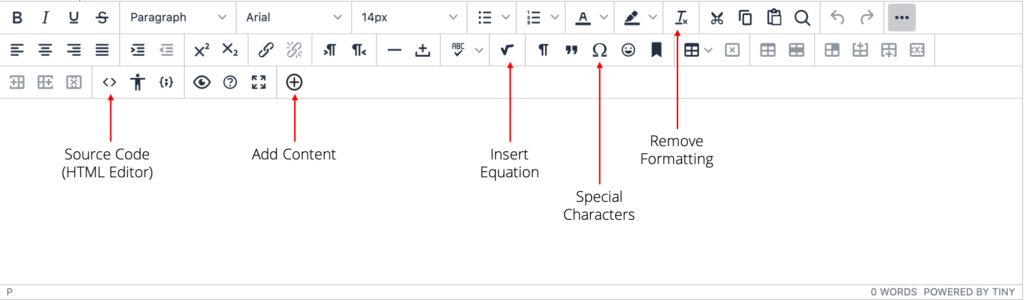
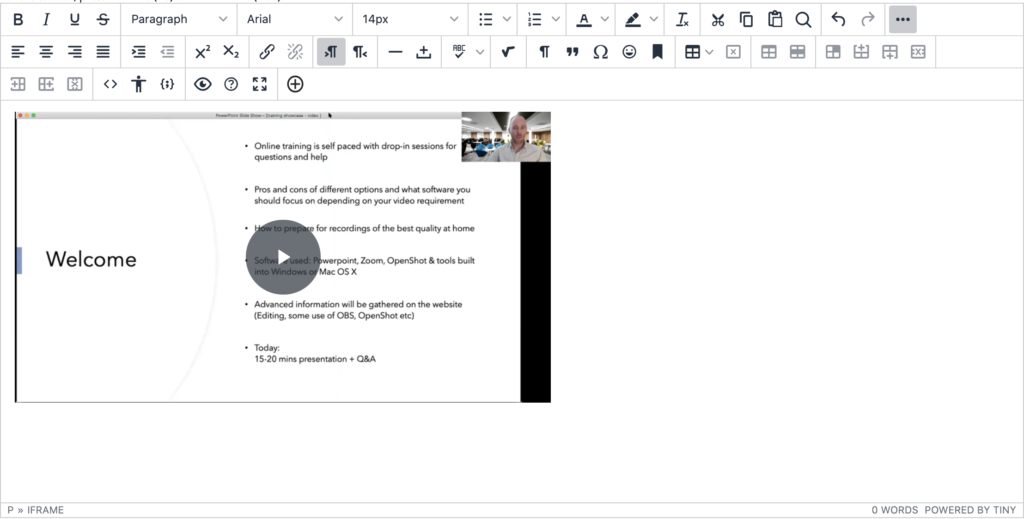
One of the biggest changes is the replacement of the ‘HTML’ button. This has been replaced by the ‘source code’ button (<>). Therefore, if you wish to edit the HTML code on the page, or insert an embed code for example, the source code button is the new place to go. Another very useful change you will notice is that when you embed content, the content itself will now appear in the preview window instead of the yellow placeholder that you may have noticed previously. We’ve embedded a video here, and you can see that it appears straight away.
Embedding UOM Video Portal Content
- Go to the video that you want to embed and click ‘options’ underneath the player window and then ‘video info’.
- Highlight and copy the embed code.
- Go to the Blackboard content editor and select the ‘source code’ button (). Paste the embed code in the relevant position on your page.
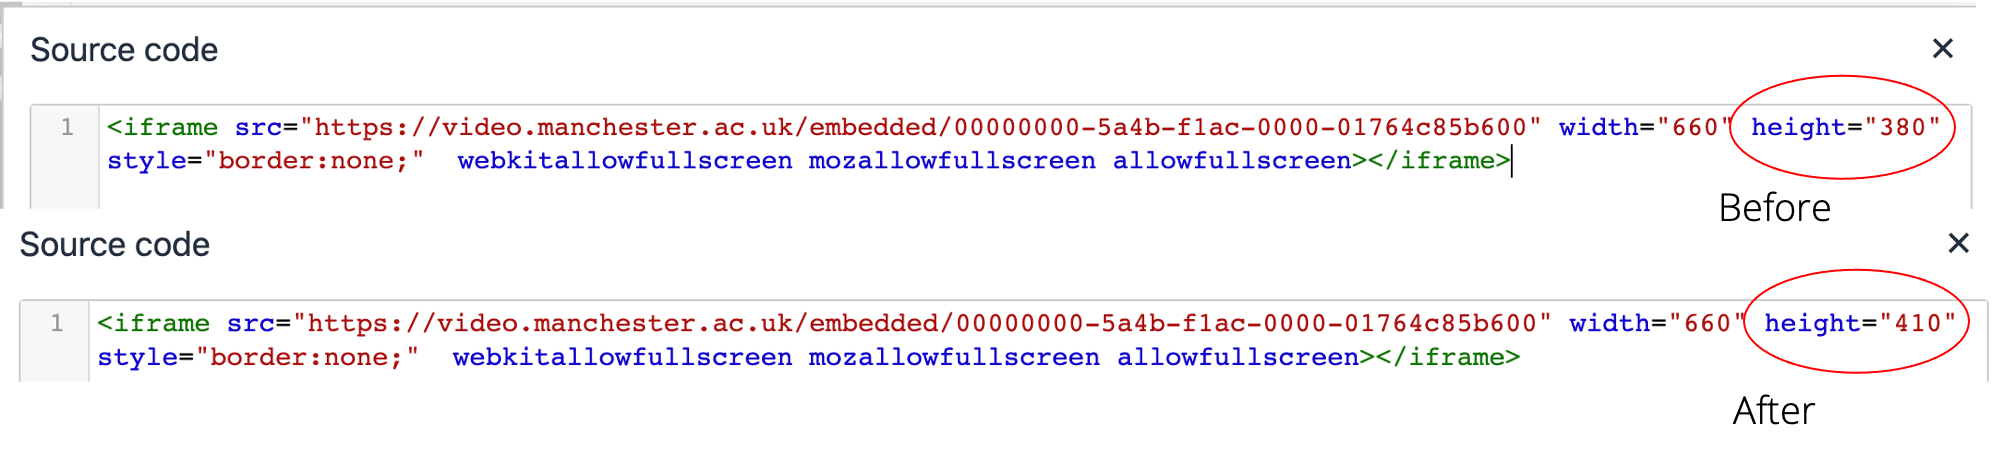
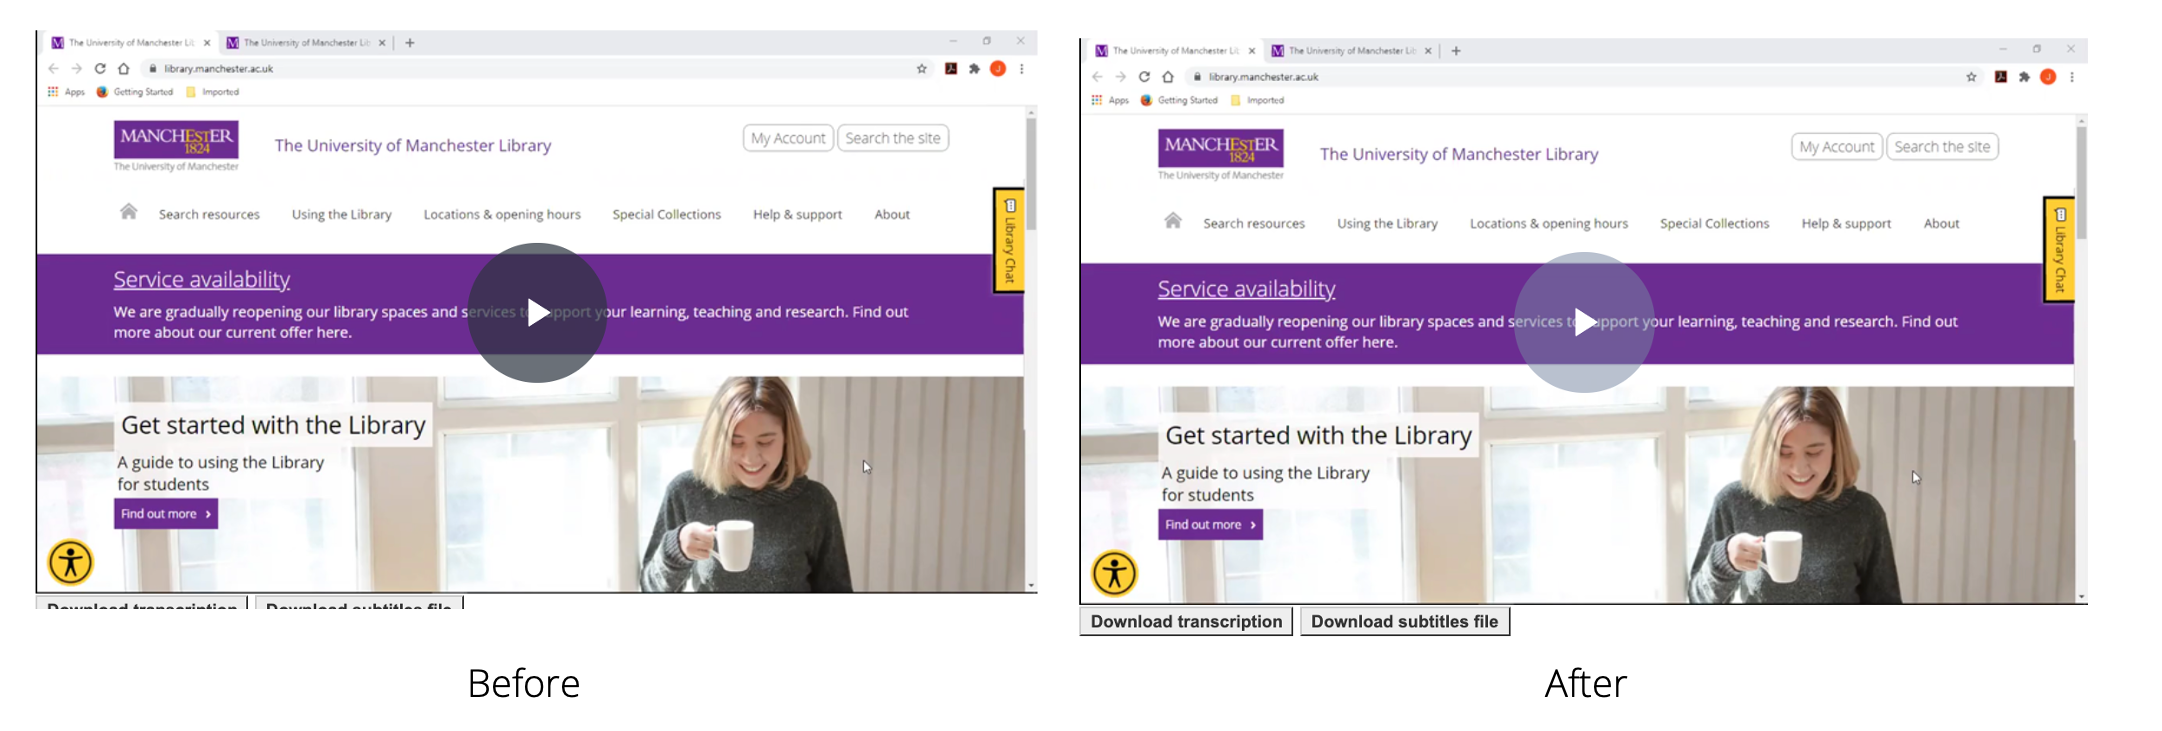
- At the time of writing, the Media Technologies recommend that 30 pixels is added to the height when adding the embed code (see images below). This is because the transcription/subtitle buttons are hidden slightly under the current configuration. Adding 30 pixels to the height will therefore display the full iFrame and as such, users won’t have to scroll a small amount to access the transcription/subtitle buttons. Further guidance can be found on the video portal help pages.
How to Embed Videos into Blackboard or a Webpage
Add content (Media and Attachments)
The way that you add content to the editor has now changed. Previously, there were several icons for specific content addition (e.g. an ‘add image’ vs ‘add YouTube video’ icon). Now, all of your attachments will be added using the ‘add content‘ button, which is indiciated by a ‘+’ icon within a circle. Clicking this opens a pop-up window where you will have a few options to choose from:

- Insert Local Files – insert a file from your computer, such as an image or a PDF
- Insert from Content Collection – insert a file from Blackboard’s content collection
- Flickr Photo – insert a photo from Flickr
- SlideShare Presentation – insert content from SlideShare
- YouTube Video – search for and insert a link to a YouTube video.
Other changes of note
- Headings – when choosing a heading type (e.g. Heading 1, Heading 2), the relative text size is now shown for each option.
- Font selection – the corresponding font typeface is now shown when selecting a font.
- Bullet points and list types – the bullet/list type options are now shown visually when making the selection.
- Icon changes – insert equation/special characters/remove formatting all have new icons (see the image at the top of the page for a guide).
- Pasting text – when pasting, you will be asked if you want to retain all formatting from the source. Choosing to remove formatting will retain basic HTML formatting (e.g. bold/italics) but remove extraneous style formatting. This is recommended when pasting text from Microsoft Word.
- Pasting links – when you paste a link from Youtube, Vimeo or Dailymotion, it will automatically convert to embedded media.