

Adding and organising content
Content areas are the top-level course areas and hold all of your teaching materials. You create, link and manage them via the course menu and can control the order and appearance if desired.
As you create content, you can set its options, such as availability. For example, you may wish to create content and make it unavailable to students until you’re ready for them to view it. You can also limit what students see based on certain criteria (date, time, individual users, groups, etc.) We will not cover these more advanced options in this training but it is useful to know how far you can control the deployment of your content.
Some of the content types you can add are listed below:
Content types
- Item: You can create an item to present a combination of content. The functions in the editor allow you to format text, attach files, embed links, etc.
- File: Create a link to a file that you have uploaded (e.g. PDF or PowerPoint). You can’t add a description with this option, so be sure to use a meaningful title. Note that students will need to download some file types such as Word docs to view the contents.
- Web Link: Link to an external website or web-based resource.
- Course Link: Create a shortcut to an item, tool or area in your course for quick access to relevant materials.
- Content Folder: You will probably want to organise some of your content in folders and sub-folders to help students find materials easily. For example, if you release content on a weekly basis, you could create folders for each week.
- Links to an individual tool: For example, you add a document for students to read that you want them to comment on – you might add a link to the Discussion Board tool to guide the students into a discussion. Or, you could add a link to a quiz so students can test their understanding of the information given in the document.
Starting point
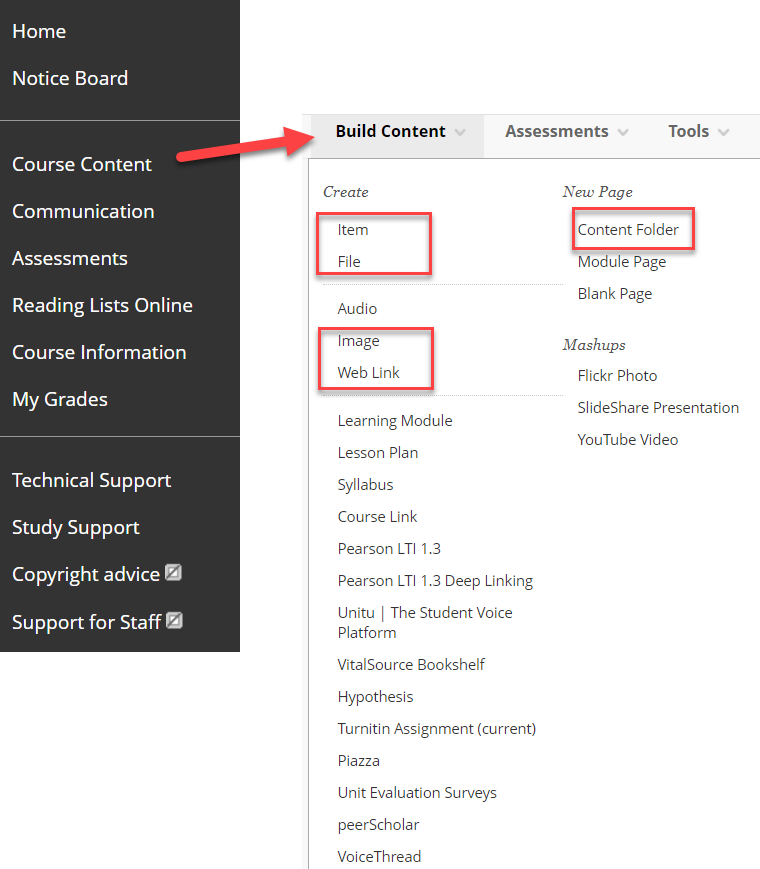
The screenshot below shows the Course Content menu item that you created in the previous activity.
We will now look at how to add some of the more basic content items to this newly created content area:
- Item
- File
- Image
- Web Link
- Content Folder
Firstly, we will look at the main options you will most likely need when you first get started:
- Item: This can be almost anything, from directly-entered text to a link to a website or file.
- Web Link: Provides a way to link to external web resources.
- File: Links to a file that you have uploaded to the course’s Content Collection.
- Content Folder: Content folders and sub-folders allow you to group related material together, e.g. by week or by topic.
On the next page, we will start by adding an “item”.